After printing on textiles for more than 3 decades, we have found screen printing to be a skill loads of people are keen to learn.
To show you how to do it yourself we grilled Jess, one of our screen printing production managers, to recommend a simple and fun way to print a tea towel at home.
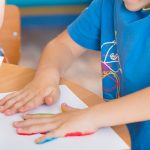
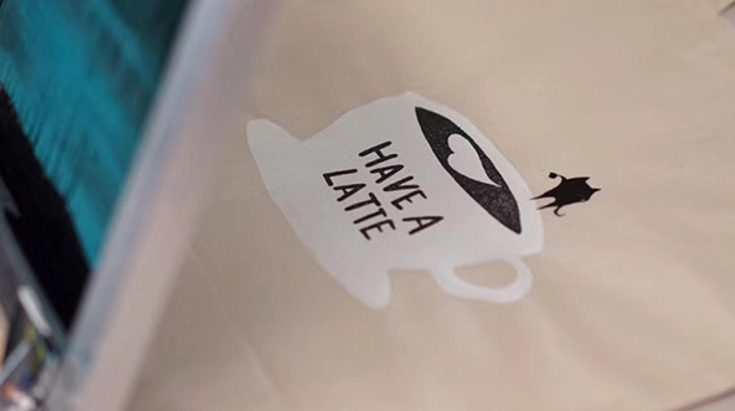
Tea towels are great for beginners, as they have a large flat surface that makes it easy to get the screen in position. It’s the ideal medium for any novice screen-printer.
For Screen Printing a Tea Towel (Items you will need)
We asked Jess exactly what a novice would need to get started.
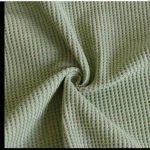
1. The Tea Towel Blanks
Our recommendation would be to start with cotton tea towels. They work easily for any novice. They are cheap enough, so you can buy a few at a time. This is recommended in case you make a mistake ( you could still use any misprinted towel in the kitchen afterwards). Mistakes are common, so make sure you have a few extra blanks for this project.
Get 100 White Cotton Tea Towels printed and delivered from $8.00 each
(Get A Quote Here)
2. Items you will need, but might already have around the house
- Pencil and paper to rough design it
- A light box to trace the design onto the stencil paper
- A scalpel to cut out the stencil
- A cutting mat, so you don’t ruin your table
- Masking tape and packing tape
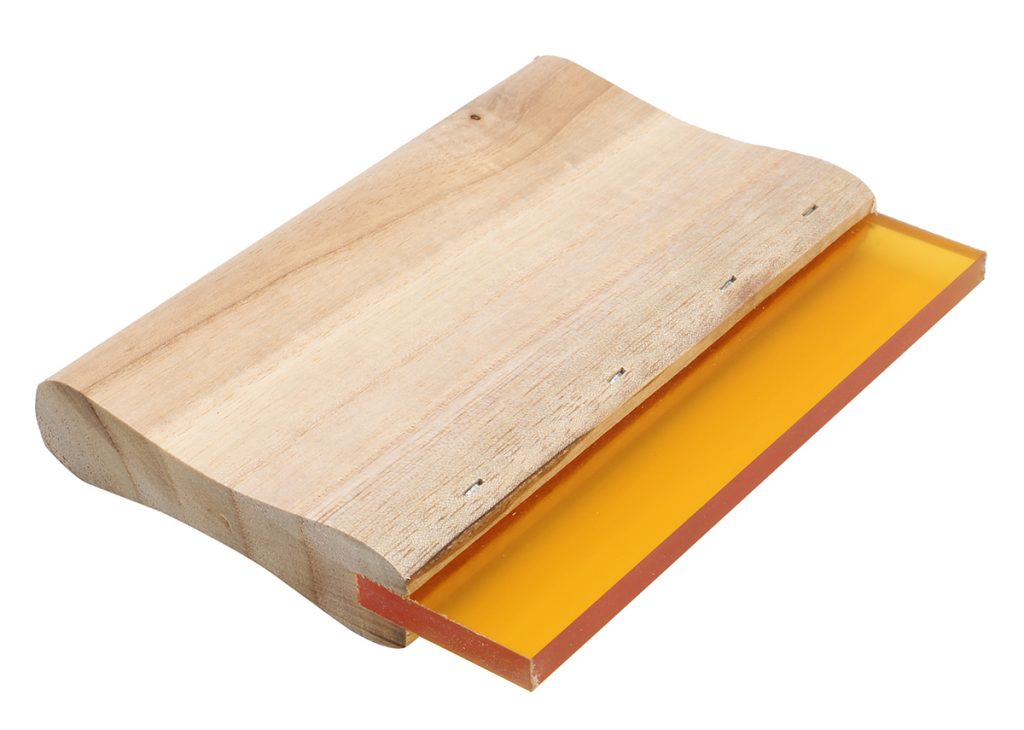
- Spatula (an old butter knife or a paint scraper will also work)
- A hair dryer or a heat gun (usually used as a paint stripper)
3. Things you will most likely need to purchase
- Some easy-cut synthetic stencil paper
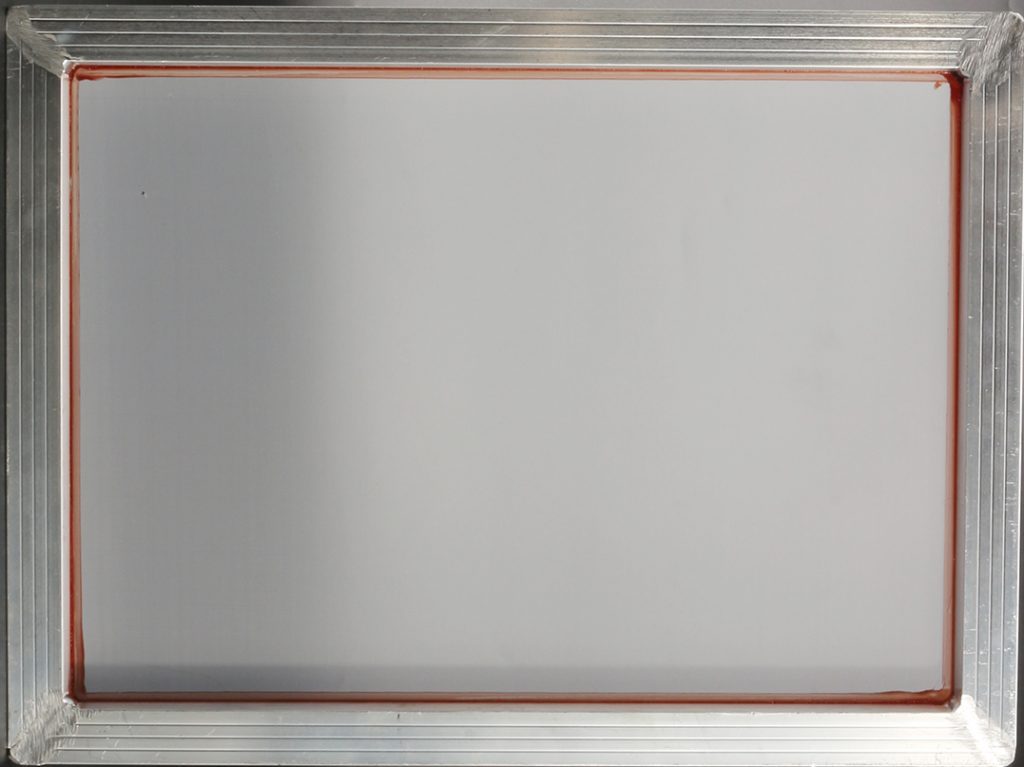
- A small screen printing frame with a silk screen (A4-A3)
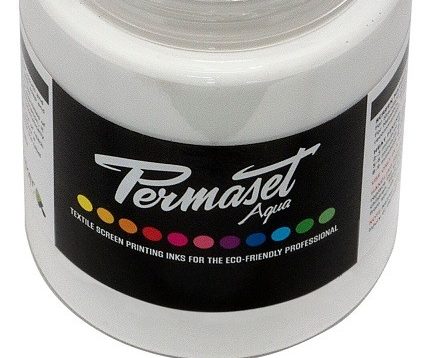
- Printing ink (Permaset is a good brand). Choose the colours you want
- Squeegee
Screen Printing Tea Towels (Do’s and Don’ts)
- Sketch out your design on paper first to get a template of what you want
- Iron the tea towel before you print it. This will keep it nice and flat when you print it
- Make sure the tea towel is not hot when you print on it, as this will dry the ink on the screen and ruin it
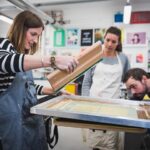
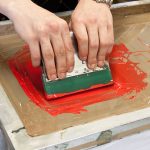
Tea Towel Screen Printing Process (Step by Step)
- Draw your design, transfer it onto the stencil paper and then cut the stencil
- Prepare the tea towel with the iron. Add small bits of masking tape to the corners of the towel to keep it in place. This will stop the towel from moving when you print it
- Prepare the silkscreen and turn it over, so the mesh is on top. Run packing tape around the edges. Place the stencil on the screen (upside down) and then stick the stencil down with masking tape. Make sure the entire screen is covered. Hold the screen up to a light source. If you can see through any part, other than the stencil, cover it with more tape
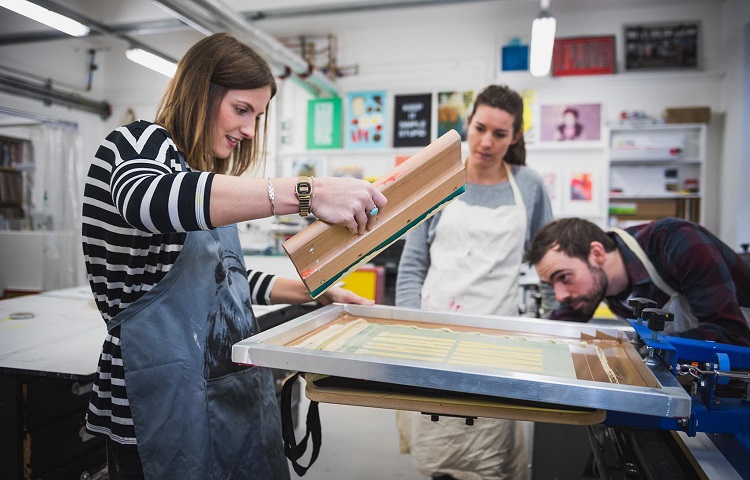
- Turn the screen around, so the mesh and the stencil are now at the bottom. Place the screen on top of the tea towel. Spread a good amount of ink in the section at the top of your design (not on the design). Not too much ink, but an amount that is more than enough to cover the design
- Check it’s in the place you want the towel printed
- If you have a partner, they might be useful to hold the screen in place when you do the printing action. Otherwise, be mindful that the screen might move during the next step, possibly smudging the print
- Gently, use the squeegee and pull the ink pile down to cover the image. This is called flooding
- Then, use a good amount of pressure and do 2-3 hard pulls, pushing down on the image’s area as you pull. Make sure the squeegee is tilted slightly forward, so the front edge is on the screen not on the flat part
- Carefully, lift up the screen from the fabric and put it on the side
- Use the hair dryer or heat gun to “cure” the ink, but not too hot, as it might burn the tea towel. Make sure you get all the moisture out of the ink
What to do Next?
If you have finished printing, scoop out the excess ink. Then, wash out the screen with a hose, preferably near a drain in the backyard or, worse case, in the bath tub. This can get messy. Don’t leave the ink in the screen, as this ink will dry in the air, but clean it out as soon as possible.
If any problems, you can prepare another tea towel and print it. The issue now is aligning it again. As there is ink in the screen, this will make it difficult to see where the towel needs to be placed.
Or, you can repeat the whole process for another colour or pattern.
The options are endless.
This guide was put together by Jess Sommers. Jess is a print manager at our Melbourne Print House. Jess is a full time screen printer and has been in the industry for almost 10 years. She is very qualified and was happy to help with this guide.
Need Some Help? Send us your ideas, designs or orders via the quote form.
Our parent company have been in the print business for more than 30 years. If you want to get a professional to screen print for you, we are more than happy to do the printing for you.
Simply go through the questionnaire quote form. Upload any artworks you have or ask us a question about your quote. At the end, enter your email address and save the quote.
Get a One-Off Personalised Tea Towel printed with any design
Under $35.00 Delivered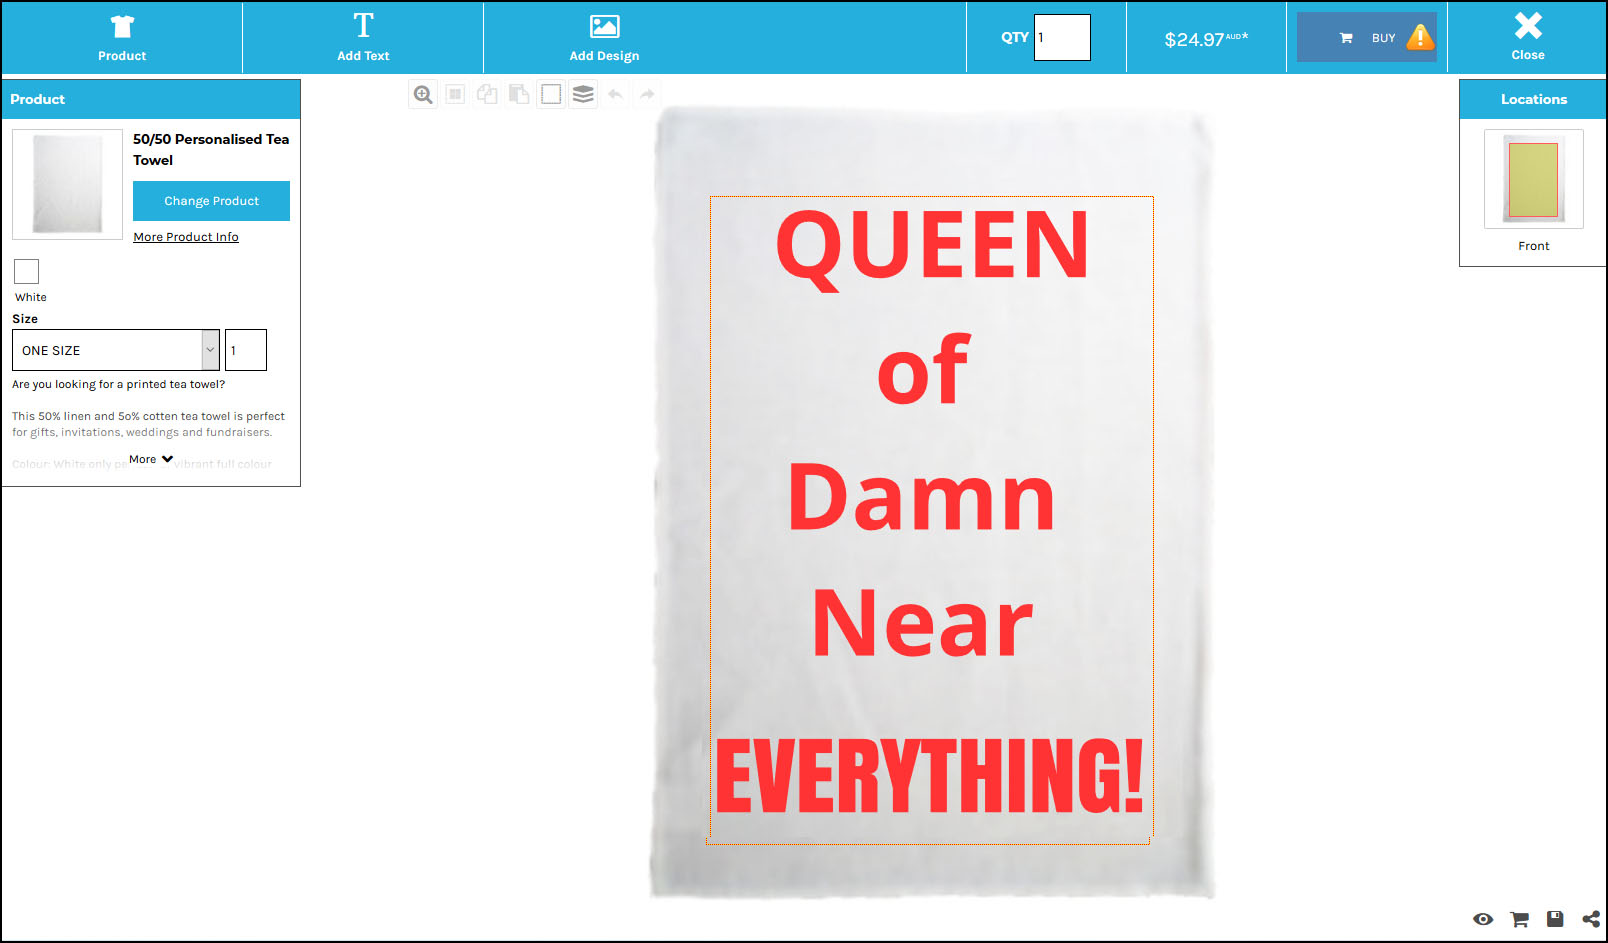
GET STARTED NOW